Simple Parts, Great Results
Step into a world where technology meets creativity. Here, your child is not just a learner but a creator, building their own matrix display while gaining invaluable STEM skills. Join us in this exciting journey of innovation and discovery

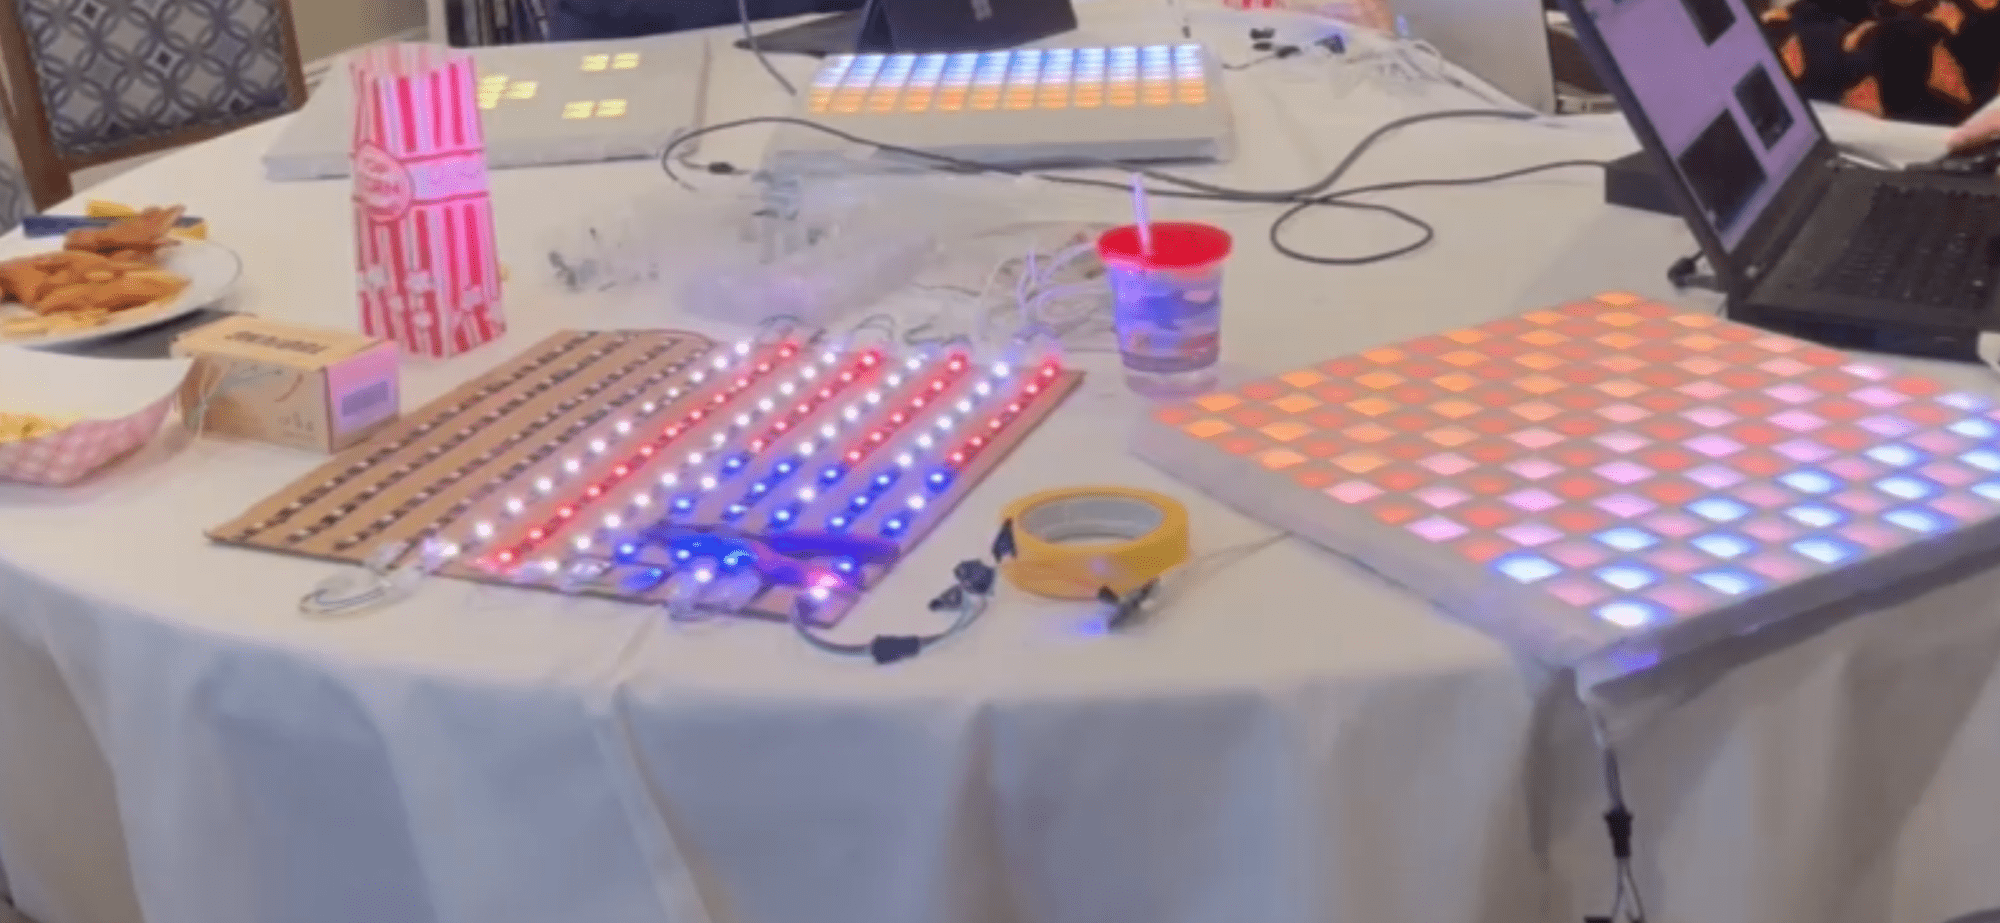
Hey there! Ready to dive into an exciting project that’s as fun as it is educational? I’m here to guide you through creating a 12×12 pixel display panel that’s so straightforward, even a third grader can tackle it with just a bit of help. Inspired by a STEM project my third grader showcased, this adventure into building and coding isn’t just about making something cool—it’s about sparking a love for STEM. With over 20 years as a software engineer, I’ve simplified everything to make this project doable on a budget. Whether you want to light up your room with a custom nightlight, create digital art, or just learn more about tech, this project is for you.
You can see the 3rd grade talent show blog post here: https://justreed.com/led-stem/killer-coders-project/
Disclaimer on Soldering
While this project primarily avoids the need for soldering, there’s a small exception if you purchase the ESP8266 microcontroller from certain suppliers. Often these chips come without header pins attached, requiring you to solder at least 3 pins for this project. Don’t worry; it’s a simple process, and there are plenty of tutorials available. Plus, soldering all the header pins opens up possibilities for expanding your project with additional components like buttons in the future.
*** Don’t want to solder & don’t want to mess with a 3-d printer? No problem! We have a limited number of kits with the exact parts you need here: https://justreed.com/product/12×12-pixel-panel-kit/ ***
Supplies
Materials:
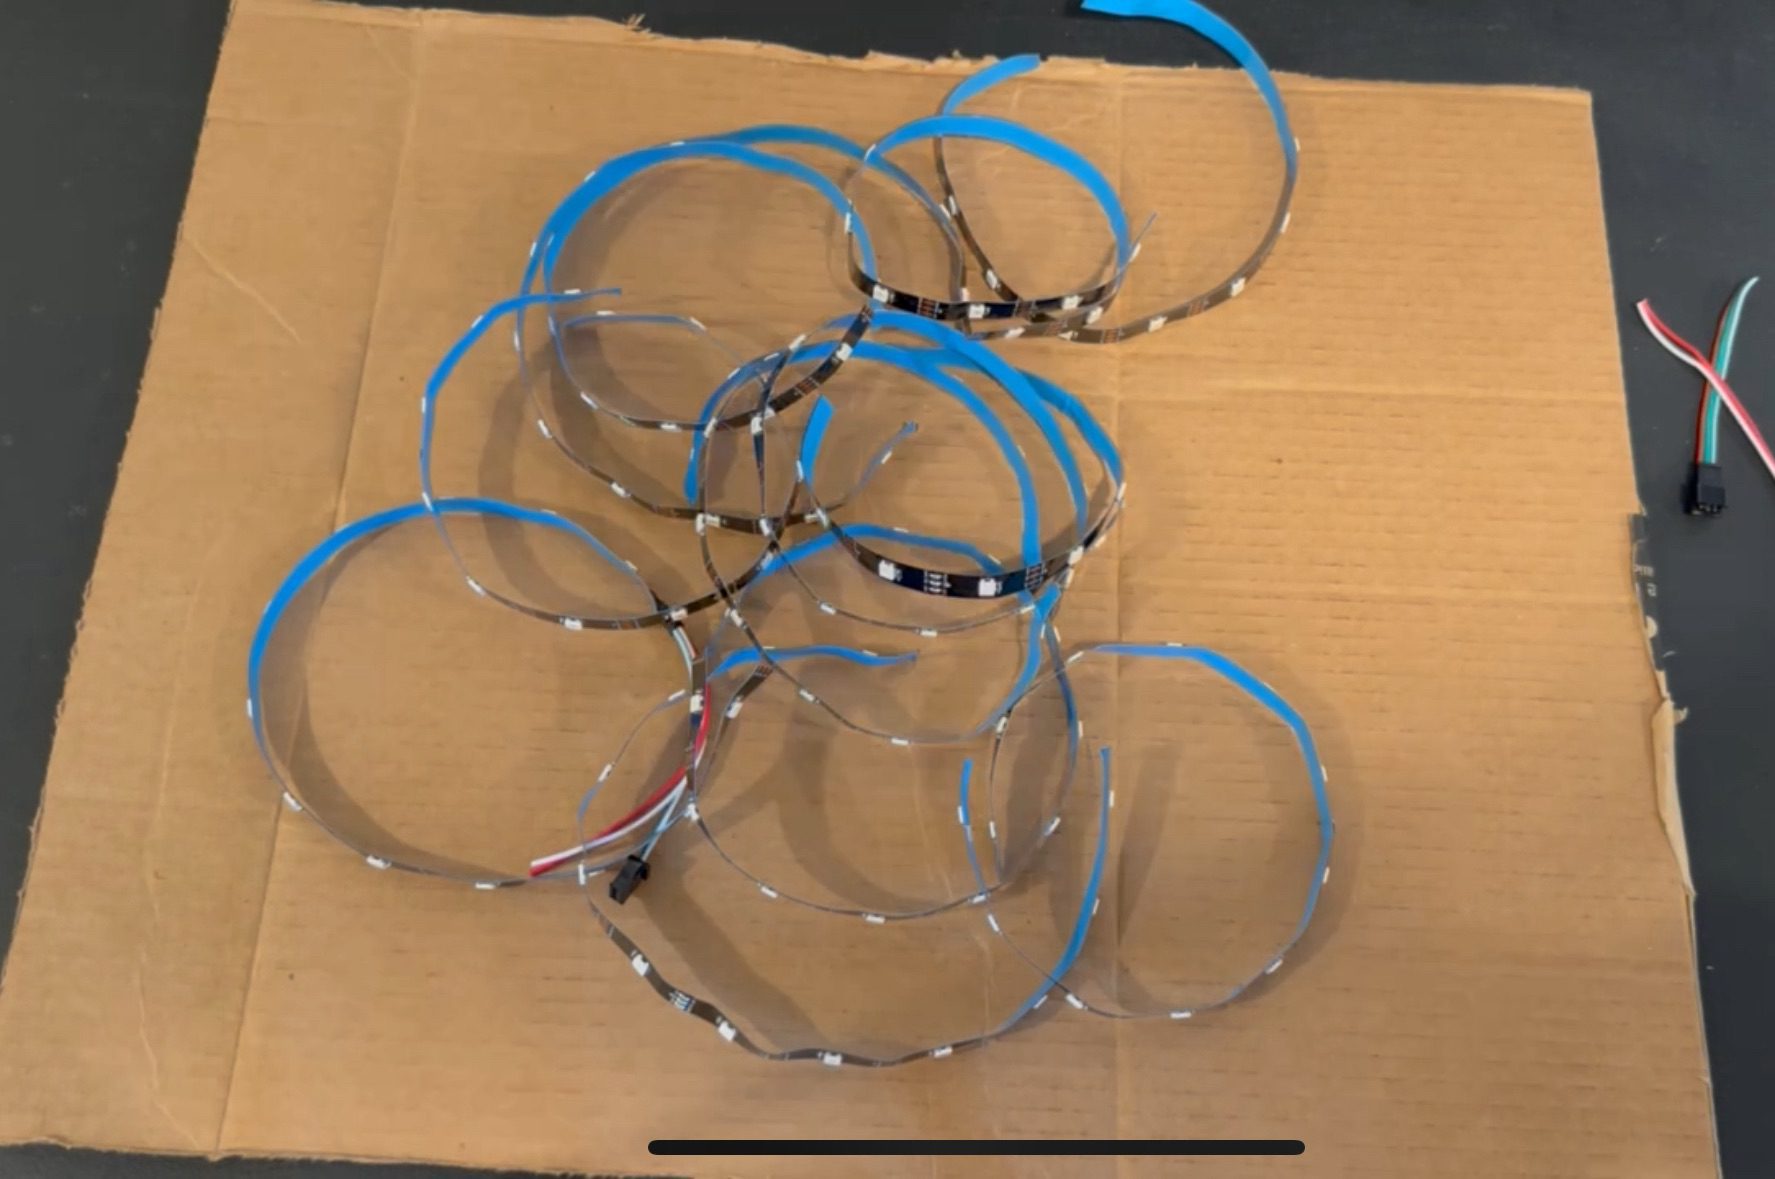
- WS2812b LED Strip (5m, 30P/m, 150 Pixels): This flexible LED strip is the canvas for your display, capable of showing a wide spectrum of colors. (White or Black version will work)
- ESP8266 Microcontroller (3 pack): The brain of your display, this microcontroller allows you to program and control the LEDs. Recommend having a spare just in case.
- Light-Diffusing Cloth: Softens and evenly distributes the light from your LEDs.
- 2x – 3-Pin Light Strip Clips (20 pack): Enables a solder-free connection between LED strip segments. You will have 18 left of these. It’s a good idea to have extras in case you have a bad connection.
- Jumper Wires: These will connect the ESP8266 to the LED strips. We only need 3 for this project.
- 22awg Colored Flexible Wire: Flexible wire for making connections between the strips and the clips.
Tools & Other Supplies:
- 3D Printer: For creating the custom frame for your LED panel.
- If you don’t have access to one, consider cutting slotted cardboard as an alternative, though it’s less durable and more time-consuming.
- Many local libraries and schools offer access to 3D printers.
- Interestingly, the cost of the 3D printer I used for this project is competitive with many traditional color paper printers, making it a worthwhile investment for enthusiasts and a great time to get into the hobby.
- Black PLA Filament (1kg): Used for 3D printing the frame that holds your LED panel.
- Cardboard Sheet (16×20 inch): Serves as the mounting board for your LED strips. An Amazon box cut-to-size will do.
- USB-A Cable: High speed USB data cable. Note: This must be a data cable and not just a charging cable.
- Low Voltage Wire Snaps: Offers a simple way to connect wires without soldering or electrical.
- Tape, Glue, Stapler: For assembling and securing the components of your display.
Step into a world where technology meets creativity. Here, your child is not just a learner but a creator, building their own matrix display while gaining invaluable STEM skills. Join us in this exciting journey of innovation and discovery

FAQs
Got Questions? We’ve Got Answers!
Whether you’re just starting or already building, our FAQ section has all the answers you need. Find quick solutions and tips to enhance your project experience.
What age group is this project for?
Perfect for kids in third grade and up, designed to be engaging and safe for young learners.
How long does it take to complete a project?
Projects vary, typically taking 1-3 hours, making it a fulfilling weekend activity.
Do I need to have technical knowledge to help my child?
No technical background needed! Our guides are kid & parent-friendly and easy to follow.
Can my child work on this independently?
Yes, older children can work independently, while younger ones may need some guidance.
Are the materials used in the project safe?
Absolutely! Safety is our top priority. We use child-friendly materials and tools.
How does this project contribute to my child’s education?
It’s a practical approach to learning STEM skills, enhancing creativity, and developing problem-solving abilities.
🌟 STEM Adventure Awaits! 🌟
Get the Latest on Our Exciting STEM Project!
[📩 Sign Up Now] [🔄 Share & Inspire]